Loading the latest stories…
Nålbinding is the craft of making a textile from loops of yarn; it is a craft for mavericks. Learn it, and you’ll be forever free from the tyranny of patterns and rules.
Penelope Hemingway6 min read
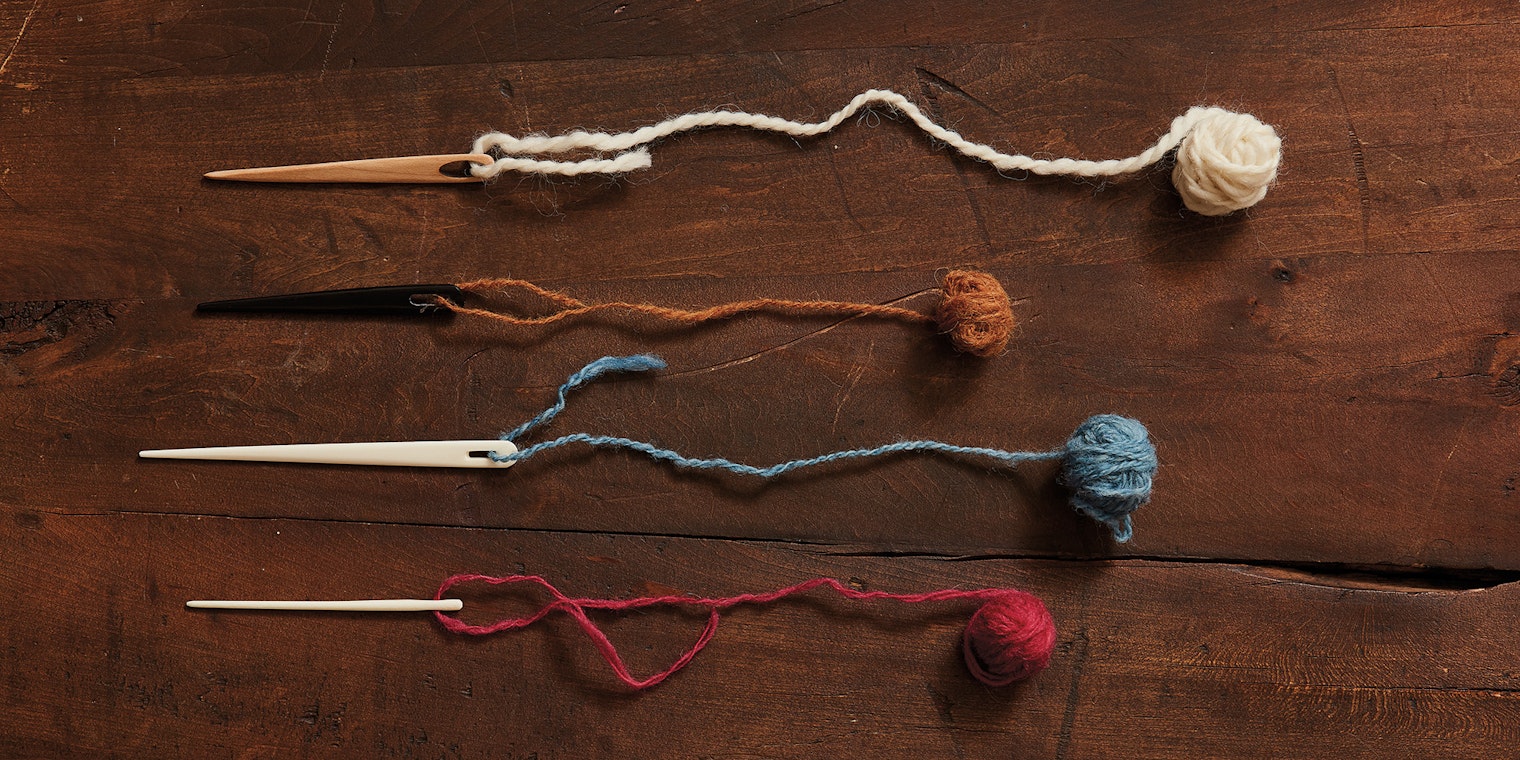
My best advice to someone trying nålbinding for the first time is to be patient with yourself while learning and to persist. Can’t start in the round? Crochet your first round! Can’t do the spit-splice joins? Let ends dangle and weave in later. Persist, keep going, and all will be well with more practice.
A pouch worked in the round is a good project to learn nålbinding basics. And you’ll need a pouch for those nålbinding needles you will somehow start collecting!
You can nålbind with many types of yarn, and to prove it, I made pouches from yarns that were in my handspun oddments basket. Nålbinding is ideal for using up leftover yarn from other projects and loom waste. It is great for keen dyers who have smaller lengths of random colors and no reasonable way of using them.
It’s wise to start with a thicker grist yarn, something between Aran weight (8–10 wpi) and chunky weight (7–8 wpi), when first exploring nålbinding. Various nålbinding stitches can show off the qualities of singles and novelty yarns very well, but it’s easier to learn with a smooth, balanced, two-ply Aran-weight yarn or similar. Choose a light color so you can more easily see the stitches and analyze mistakes if they occur.
Historically, all sorts of fibers have been used for nålbinding: various types of wool, flax and other bast fiber, and even human hair! My preference for nålbinding fiber is a Down-type shortwool spun with a semiworsted drafting technique. Breeds such as the rare Boreray and Derbyshire Gritstone make a nice nålbinded fabric. Other shortwool breeds include Dorset, Southdown, and Suffolk.
While nålbinding is often compared to knitting, the technique is quite different. For starters, nålbinding cannot be made from a continuous length of yarn. The fabric is worked with one needle and short pieces of yarn rather than a continuous length. While nålbinding, you work with lengths of yarn that are about as long as your arm-span, then you splice (join) the yarn as you go.
There are hundreds of nålbinding stitches and generally no patterns for nålbinded items. Patterns like those used for knitting or crochet don’t work, as no two thumbs or needles are precisely the same; gauge is not even a concept. The steps below are only one way of working. Once you get the hang of it, you may prefer not to tension using your thumb and can explore other methods, but this is a good one for beginners.
To start, thread your needle with about 1½ yards of yarn. (Pull yarn to break it; don’t cut it, because you need a fluffy end to join later.)
 Step sequence to create a nålbinding chain. Photos by Nathaniel Hunt
1. Make a slipknot, but do not tighten. Place knot over the thumb of your left hand with the “halo” on the pad of your thumb, pressed between thumb and index finger. Place the remaining loop of the slipknot over the thumbnail. The following stitch is worked with the rear loop (RL) and the thumb loop (TL). When looking at the thumbnail side, the working yarn (WY) is to the left of your thumb and hangs in front of your hand. When making a new stitch, WY must always be to the left and in front.
2. Insert needle into RL from front to back. (Do not pull needle through.)
3. Rotate needle and insert it into TL from back to front and under WY.
4. Pull the thumb out of TL, pinching it against the needle. Then pull needle and working yarn to the left and through all loops. The working yarn tightens to form a new TL.
Practice making chains just to get into the rhythm of nålbinding and to perfect your tension.
The most straightforward connecting stitch is called the F1 stitch. This is done by working through one chain stitch from front to the back. To work in the round, you will be working into one chain stitch, from front to back, and then working Steps 2–4 above.
Work into the same stitch to create an increase (as shown below) or work into the next stitch to the right to continue on the same number of stitches.
Make 2 stitches in one old stitch from the last round.
 Increase by working two new stitches into the same old stitch. Photo by Nathaniel Hunt
Make 1 stitch in one old stitch, then skip one old stitch from the last round (as in crochet).
 This white pouch with shots of different colors (low right) is an easy way to learn to nålbind. The smooth, white surface was the perfect background for small amounts of shortwool yarns dyed with madder (orange), logwood (purple), woad (blue), and cochineal (red). With more experience, try creating pouches with flaps (left).
WY Working Yarn
TL Thumb Loop
RL Rear Loop
Nålbinding needle; locking stitch marker or waste yarn.
Chain 8 sts. Join in the round, making sure chain is not twisted, as follows: Insert needle from front to back through first chain stitch, then work Steps 2–4 above.
Rnd 1: Work rnd in F1 stitch, increase by nålbinding twice into every stitch—16 sts.
Rnd 2: *F1 1, inc 1; rep from * to end.
Rnd 3: *F1 2, inc 1, rep from * to end.
Rnd 4: *F1 3, inc 1 rep from * to end.
Continue in this way, increasing regularly and on each round until you have completed Rnd 18.
Work even without increases until pouch is desired height.
*Skip 2 stitches, F1 2, repeat from * to end of rnd.
Braid a drawstring and pass through loops at top of pouch.
Pull yarn through last stitch until tight. Weave in ends.
Because nålbinding uses short lengths of yarn rather than a continuous yarn as in knitting or crochet, the working yarn is spliced, or joined, to the beginning of the next piece. Often called “spit splicing,” this technique uses moisture and friction to slightly felt the yarn tails together. I use a plant sprayer, but in the past these were called spit splices for a reason.
If you have trouble with joins, don’t worry. Try needlefelting the ends together or simply leave several inches of yarn tails dangling and weave in later.
Looking to learn more about nålbinding? Find the companion article in Spin Off Summer 2019.
Also, remember that if you are an active subscriber to Spin Off magazine, you have unlimited access to previous issues, including Summer 2019. See our help center for the step-by-step process on how to access them.
Penelope Hemingway is a genealogist and historian who writes about material culture and textile history. She is the author of River Ganseys, and Their Darkest Materials.
Originally published November 22, 2019; updated August 24, 2022.
More from Spin Off
From the Library




Comments
No comments yet — be the first to share your thoughts.
Sign in to join the conversation — commenting is for signed-in members.