
Loading the latest stories…
A little bit of handspun yarn gets you big results with these easy braids.
Angela K. Schneider3 min read
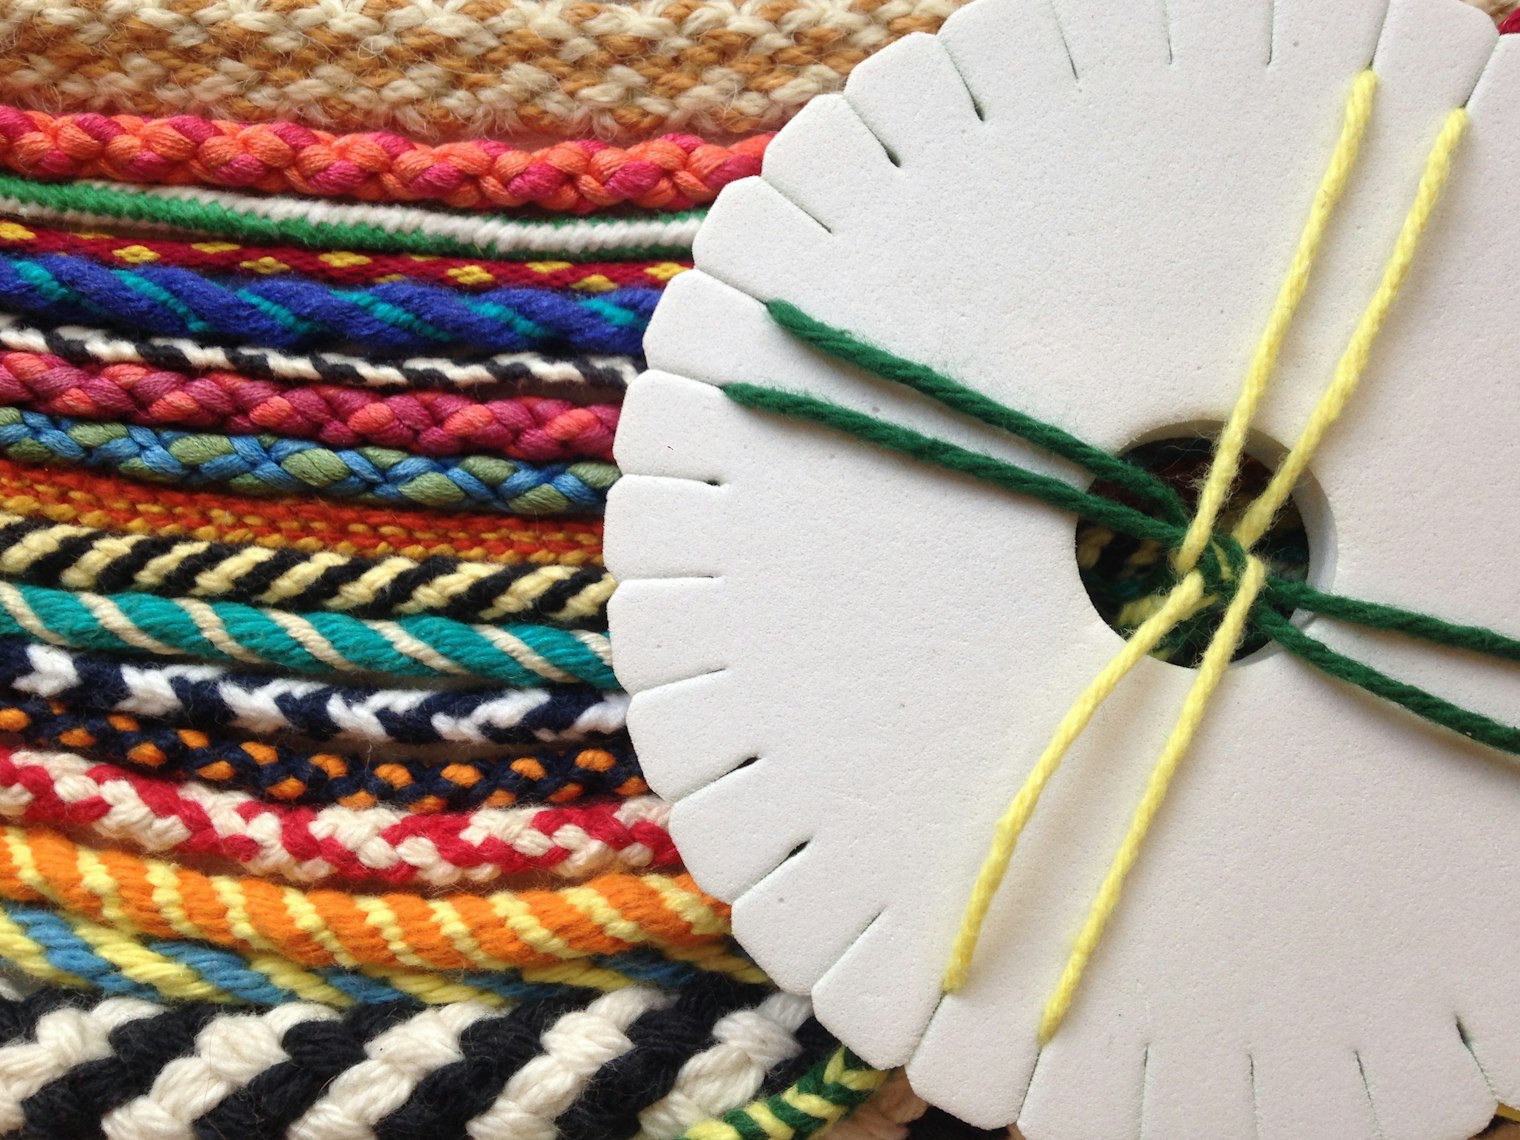
Adapted from "Blue Diamond Braid" by Angela K. Schneider
Kumihimo is the art of making elaborate, patterned braids. These fancy braids have myriad uses: key fobs, eyeglass cords, basket handles, jewelry, and components of artwork, to name just a few. Use colorful braids to enhance your other handmade items—think purse handles, drawstrings, frog closures, and decorative trim, all of which can be made with just a few yards of handspun yarn.
Kumihimo involves exchanging threads, usually eight or more, in a sequence of movements that can range from simple to complex. The sequence of movements determines the shape of the finished cord, which can be round, square, flat, or other shapes. Color placement works with the movements to create patterns.
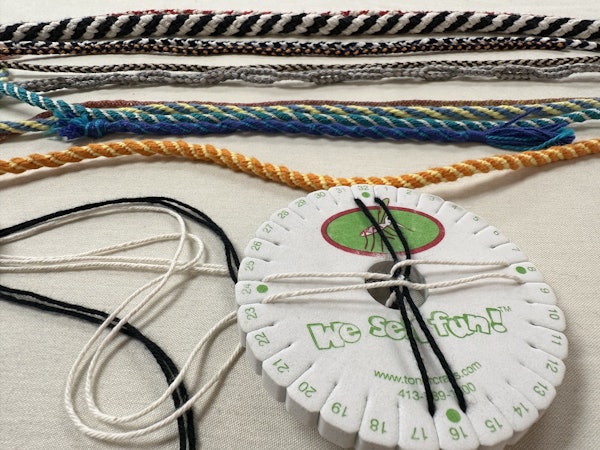
Fortunately, you can get started without any fancy equipment, using a braiding disk for an accessible and very portable project. A foam braiding disk has notches around the perimeter to hold the individual threads and a hole in the center to accommodate the developing braid. You can find kumihimo disks at bead suppliers, or at craft stores, among the kids’ craft supplies as bracelet or lanyard makers.
Getting started with a new craft can be daunting, but with kumihimo, all you need to get started is a simple braiding disk. You can make one yourself with a piece of craft foam, or purchase one for just a few dollars. In this free video, project editor Angela K. Schneider walks you through a simple braid. Be sure to check out the free pattern in the Spin Off Library!
Adapted from "Kumihimo-to-go!" by Angela K. Schneider
As you begin to get comfortable with kumihimo, here are some helpful tips to make a tidy braid.
Tips:
 With practice and even tension, you can create beautiful braids.
Finishing:
When you cannot braid any further, pull the tails out of the slots and set the disk aside. Using one of the yarn colors, whip each end of the braid above the loose tails and above the starting knot. Untie the knot. Comb out the ends and trim the fringe into a 1" tassel.
Whipping:
1. Cut a 6-8" length of one of your braiding yarns. Fold one end of the whipping yarn into a loop and place it on the braid.
2. Wrap the whipping yarn firmly around the braid, enclosing the loop with each wrap. Position the wraps snugly against each other.
3. Thread the whipping yarn through the loop.
4. Pull the starting tail to bury the working yarn under the wraps. Trim both tails flush with the wrapping.
 Whipping steps to finish your braid. Illustration by Missy Shepler
Angela K. Schneider is the project editor for Long Thread Media and is a fan of all the forms of interlacing yarns.
More from Spin Off
From the Library




Comments
No comments yet — be the first to share your thoughts.
Sign in to join the conversation — commenting is for signed-in members.