
Loading the latest stories…
Solar dyeing is an easy, natural, and fun way to give yarn color and character that requires little work and results in non-repeatable, beautiful colors!
Caitlin ffrench5 min read
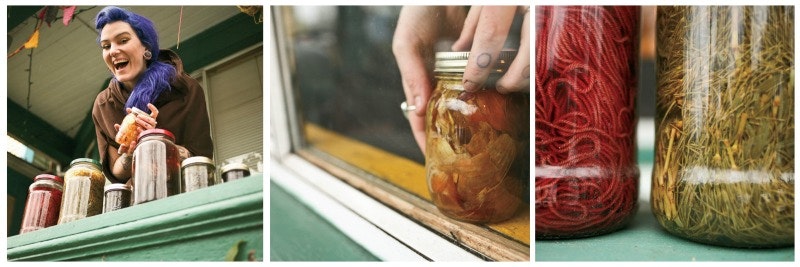
Spend some time outdoors with beautiful colors and harness the power of the sun! Artist Caitlin ffrench explains how to dye yarn or fiber with natural materials and solar energy; hence, solar dyeing! Originally published in knitscene Summer 2013
.
Solar dyeing is a natural method that requires very little work and results in non-repeatable, beautiful colors. It also requires very few tools, unlike stove-top dyeing and other dyeing techniques. In short, it’s an easy, natural, and fun way to give your yarn color and character.
Many amazing washfast dyes can be found in your supermarket and in your garden. A wealth of information is available in blogs, books, and online resources.

Pre-wet your fibers by placing them in a vessel of lukewarm water that covers them completely. Let them sit for 20–30 minutes. Doing this will allow both the mordants and natural dyes to strike the fibers evenly. If you prefer your fiber to have a more splotchy appearance, skip this step.

Step 1
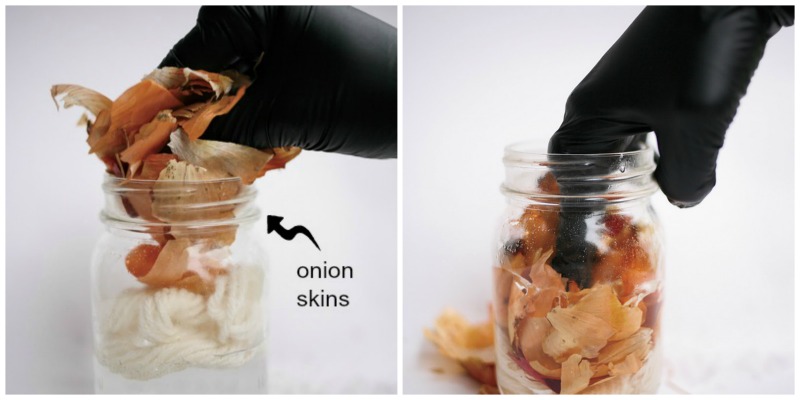
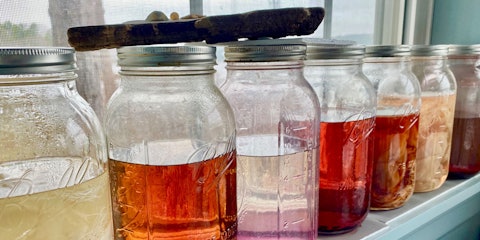
Next, add warm water to the jar, about 1/3 full. Add your mordant (2–3 teaspoons per 100 grams of fiber), and let it dissolve in the warm water. Now add your dyes. If you are adding freshly harvested dyes or dyestuff that will get stuck in your fibers, put the dyestuff into a nylon and tie the end. The nylon will keep the dyestuff from becoming tangled in your fiber and causing a problem during rinsing. If you are using dye extracts, this step isn’t necessary. Add the ammonia or vinegar if you need to alter the pH levels of the water.

Step 2
Step 3

Step 4
Add your fibers to the jar. Consider layering more dyestuff on top of your fiber; having dyestuff on both the top and bottom will give you a more even distribution of color. To finish, add water until the jar is filled to the top. Allow the jar to settle, which may make the water level drop. If it does, top off the jar with water and allow the jar to settle again. Repeat this process of topping off until the water level remains full. Put the lid on your jar. It is now assembled!

Step 5
Now that your jar is ready, label it. As much as you would like to think you will remember what is in the jar, chances are that you will not in a few weeks/months. I know this from experience.
Place your jar in a sunny spot and leave it alone for a while. Your timeframe could be as little as a week or as long as a few seasons, depending on where you live and how sunny it is. You can turn your jar back and forth a few times a week if you wish for the fiber to have the color more evenly distributed, or you can leave the jar alone. When the water has become much clearer and the fibers have absorbed color, it is time to rinse your fiber!
To rinse your solar-dyed fibers, lift the fiber out of the jar (with gloved hands) and lay it in the sink. Wash it with a wool wash or soap, and rinse it until the water runs clear. Be mindful not to agitate the fibers too much; too much agitation may cause some fibers to felt. Hang your skein, untwisted, up to dry. Once it’s dry, wind a ball and enjoy your naturally dyed yarn!

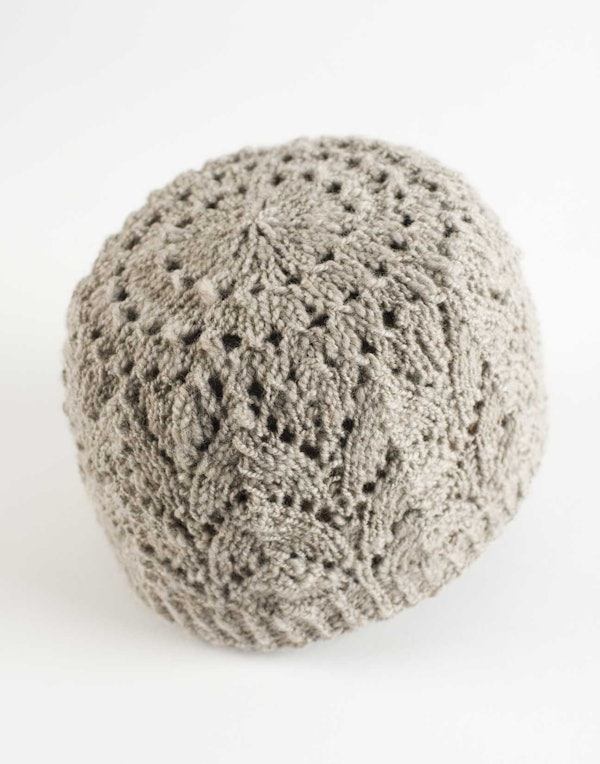
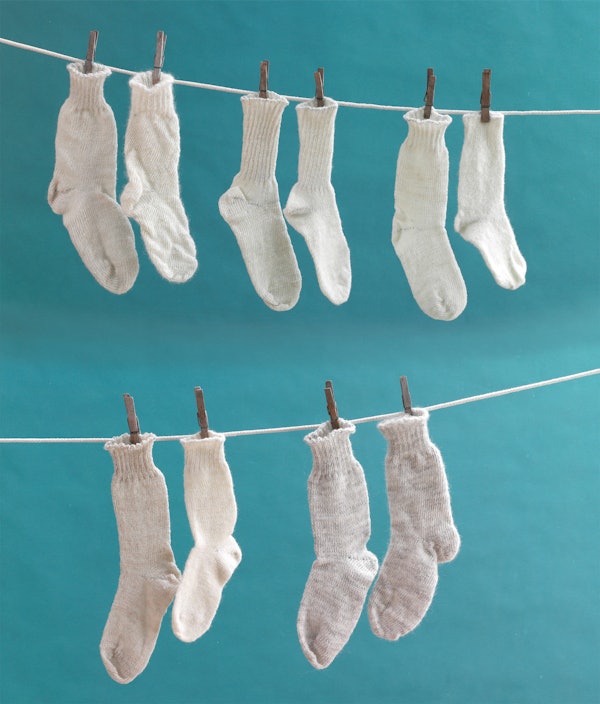
Yarns shown above:
—Caitlin ffrench
Featured Image: Author Caitlin ffrench shows off some of her handiwork at home in Vancouver, Canada. Photos by Sylvia McFadden. For more dyeing resources check out: Dyeing Yarn Free eBook: Using Natural Dyeing Techniques.
Caitlin ffrench is a natural dyer and fiber artist in Vancouver, Canada. She is influenced by the surrounding land base of the Pacific Northwest and spends as much time as she can in the forest. wewilltellyouallofoursecrets.blogspot.ca Sylvia McFadden can be found online at flickr.com/photos/sylvia_mcfadden and softsweaterfibres.blogspot.ca
Sources for Supplies:
More from Spin Off
From the Library





Comments
No comments yet — be the first to share your thoughts.
Sign in to join the conversation — commenting is for signed-in members.